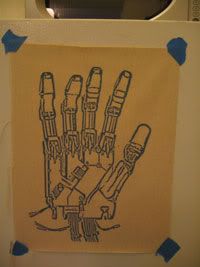
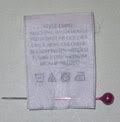
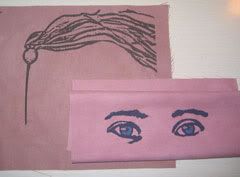
This is one of the coolest helpful hints we have ever stumbled across, using any ordinary inkjet printer to print directly on fabric! We have used it to create awesome fabric designs as well as washing labels/tags for some of my sample fashion designs. It sounds a bit too awesome to be true, but for how easy a process this is, you are going to printing custom fabric in no time! Send us examples of your fabric designs and we'll post them!!
[caption id="" align="aligncenter" width="200" caption="this is a sweet print hanging on our fridge!"]
 [/caption]
[caption id="" align="aligncenter" width="120" caption="we have used this technique to create garment tags!!"]
 [/caption]
How to after the jump....
Step 1:
First we have to gather our supplies. For this project you will only need some fabric, a inkjet printer with plenty of ink, an iron and freezer paper. For all those that do not know what freezer paper is, it is the paper you get from the butcher store. It has a a waxy side and a paper side. You can find it easily in any major supermarket, such as Safeway.

Step 2:
Next cut your a piece of fabric and a piece of freezer paper a smidgen large than a regular sheet of paper, 8.5" x 11".
Helpful hint: In order to make the job easier down the road for you i suggest cutting the freezer paper larger than the fabric.
 Step 3:
Now comes the ironning, so next you will need to have your iron and ironing board set up. Place the fabric on the ironing, with the face of the fabric facing down (that is the side you want to print on...). Place the freezer paper over the fabric wax side down and iron! Make sure you use a lot of pressure when ironing to insure a good seal. You should now have a piece of fabric lightly stuck to freezer paper.
Step 4:
Time to trim! For the next step you need to pullout your scissors or xacto, whichever you love more, and trim the newly joined fabric and freezer paper down to 8.5" x 11". To make it a bit easier, we usually just trace around a standard size sheet of paper with an xacto.
Also this is the largest my printer prints, but if you can go bigger than we are officially jealous and would love to see it!
 Step 5:
And Print! Finally we have come to the best part, the printing. Figure out how your printer loads its paper and place your newly created fabric paper in the tray for printing. You may have to help guide in the fabric paper if the edge are frayed to any degree. The flatter and cleaner the edges are the better the paper will feed through the printer. Once printed, just peal off the freezer paper and you have printed fabric!
 Word to the Wise....
Obviously this ink is not set on the fabric in any way and will fade in sunlight or run if exposed to water. Fortunately there is an dye fixative, called retayne, you can use if you are printing on 100% cotton. You can find this relatively cheap at Dharma Trading Co. We have also been told that waterproof ink for inkjet printers exists. We have personally never tried it, but it might be a great option if you want to use fabric other than cotton.


No comments:
Post a Comment