Buttons are something kelly and I just seem to gather, from extras that come with new jackets/pants to random garage sale finds. We have always wanted to use them for some form of craftiness but could never quite figure it out. Then yesterday it just hit us...how cool would it be to create a cup coaster out of old buttons woven together?
These coasters are the perfect gift for a friend's birthday, father's day (which is just around the corner) or just to add a little handmade touch to your home! So start scouring for old buttons and get to craftin'! All the how tos after the jump...

Step 1: gather supplies
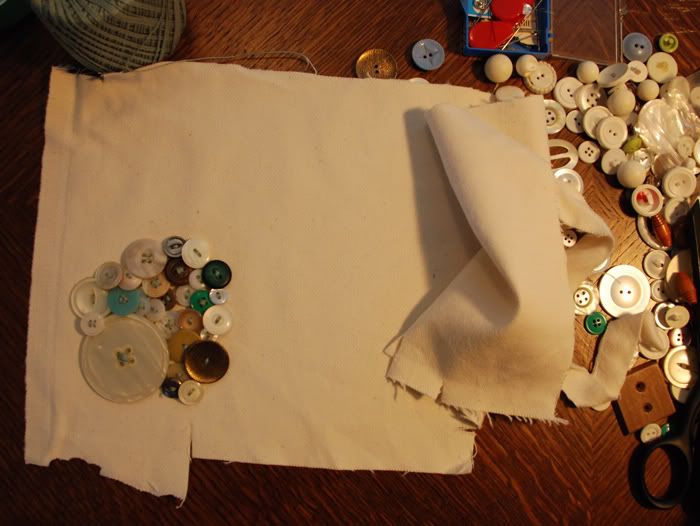
First you need to gather your supplies....a bunch of buttons (i used about 30 for 1 coaster), scissors, thread/string, needle, some scrap fabric, cardstock (for this we used our handmade cardstock) and a hot glue gun.
Step 2: thread your needle and sew!
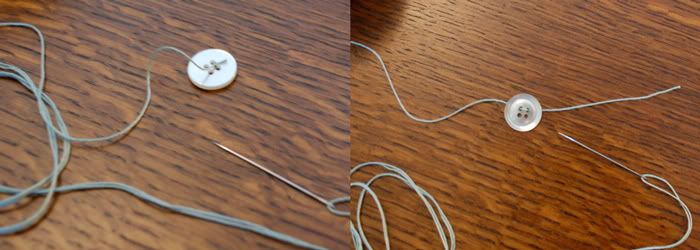
Next you will need to take a large piece of string, thread your needle and tie off your first button. To tie off the first button you need to first thread the button so that there is a small tail enough to tie a knot with it. Then flip the button over and knot the short end of the thread with the long end. Pretty basic! Now you can start sewing together all your other buttons to form the coaster. Make sure when connecting buttons you are creating a supporting weave with the thread of the bottom side. To do so don't be afraid to go through button repeated for added strength.
[caption id="" align="aligncenter" width="420" caption="button threaded [left] button knotted off [right]"]
 [/caption]
kelly and I choose to weave the buttons directly together because it allows for a less uniform, more naturally flowing shape for the coaster. But if you want to make your life a bit easier or just want a more patterned look, you can take some cardstock and sew your buttons directly onto the cardstock, creating whatever shape you would like.
Step 3: pretty backside
(if you have woven your buttons onto the cardstock direclty, take a moment to cut off all the excess cardstock around the buttons)
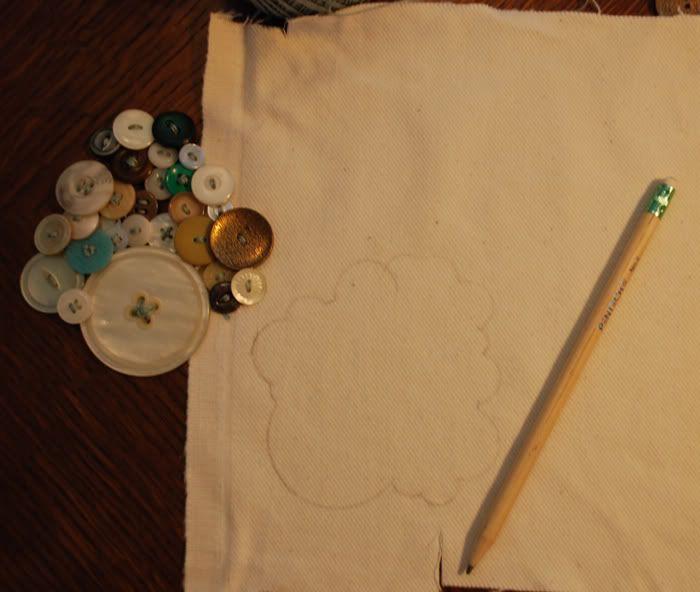
Once you have connected your buttons and have the shape you desire, it is time to create a pretty and soft backing for your coaster. Take your scrap piece of fabric and place it in front of you face down. Place your buttons on the fabric and trace an outline around them. With your scissors, cut out the traced shape of your coaster in the fabric. You now have your pretty backing piece...


Step 4: glue it all together
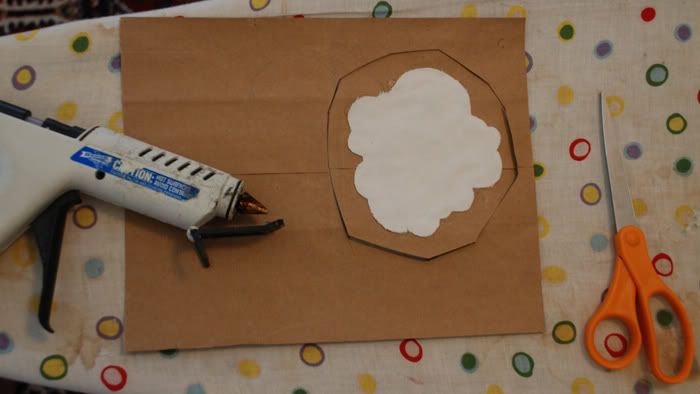
Now it is time to plug in your hot glue gun. If you decided to weave the buttons together and not directly to the cardstock all you have left to do is glue the fabric to the bottom of the cardstock, let cool and you're done. If you did as we did, then you need to take the piece of fabric cut in the shape of the coaster and glue that directly to your piece of cardstock.

Once cooled, cut off the excess cardstock not covered in fabric. From there glue your woven buttons directly onto the cardstock side of your reinforced fabric backing and you're done! Repeat all steps for a sweet matching set of coasters!!


No comments:
Post a Comment