
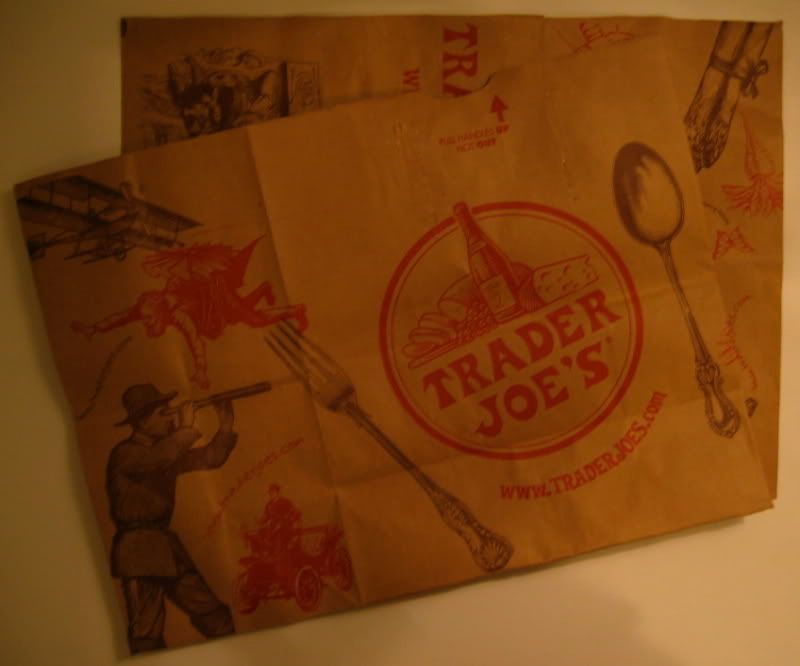
Looking at all these bags, we just had to figure a way to use them. One of our biggest cost here at bennykelly is cardstock. We use it not only for all our tags and marketing fliers, but also as stencil paper. And as of recently we've been having difficulty finding cost effective cardstock made from 100% recycled paper. So to end our paper woos and bring more sustainability to our line, we decided to create some HOMEMADE CARDSTOCK!!
Make your own cardstock...all the how tos after the jump!
Step 1: gather supplies
This project doesn't take much. To gather: scissors, paper shopping bags, tacky/white glue (pretty much any hard drying glue will work), a paintbrush, and a bowl.
Step 2: dissect paper bag
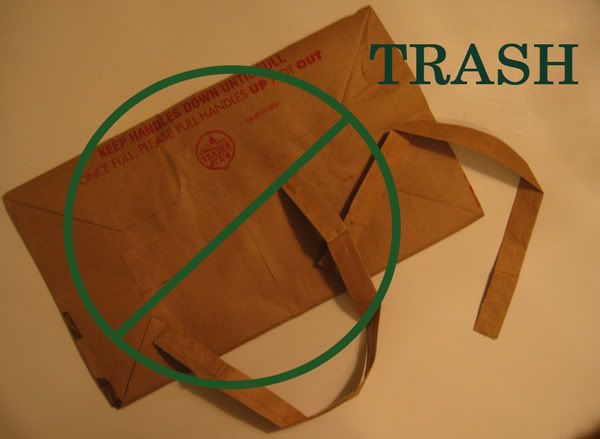
Next you need to cut the paper bags, so they are able to lay flat. The trick to getting the most out of a bag is to cut out and discard only the handles (rip those off by hand, gently) and the bottom, leaving all the sides intact and each one connected to either the front or back panel. Keep in mind you will be gluing two layers of the paper together to create the desired stiffness. I have pictured the size we normally cut to produce 8.5" x 11" pieces of cardstock (two pages to a sheet) below.
[caption id="" align="aligncenter" width="302" caption="will create 2 letter size sheets"]
 [/caption]
Step 3: gluing
For this step you can pretty much use any glue as long as it dries relatively stiff. This means no rubber cement!! We like to use tacky glue because it dries clear, is easy to get to the right consistence with and dries stiffer than white glue. You can get tacky glue cheap at any fabric or crafting store.
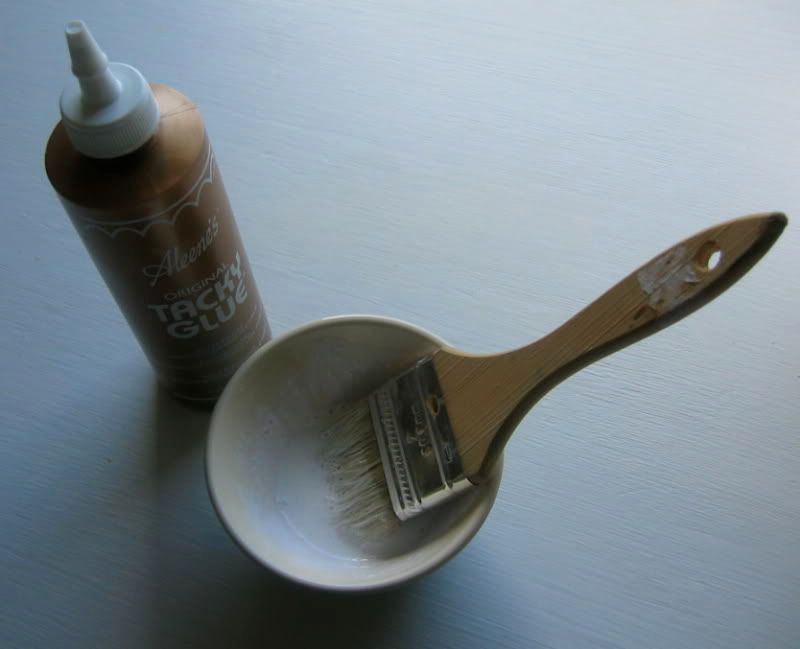 To make our glue we take a small bowl and make a mixture of water and glue (about 4 parts glue 1 part water) You need a consistence that is not to thin, where its more watery than glue, but thin enough to easily brush onto the paper. Once the glue is created, get gluing! Take your dissected bags and glue two equal pieces, printed side together. Let dry. Drying can take up to 2 hours.
Step 4: trimming
Once the glued sheets are dry, all you have to do now is trim your newly created cardstock. First decide how big you need your cardstock. We frequently use letter size, so that is what we created for this tutorial, but you can create any size your heart desires!! We tend to just grab a piece of paper in the size desired and use that as a template for trimming.
Helpful hint: For best results let glue dry completely before trimming. In doing so, you paper will be less likely to splinter along the edges.
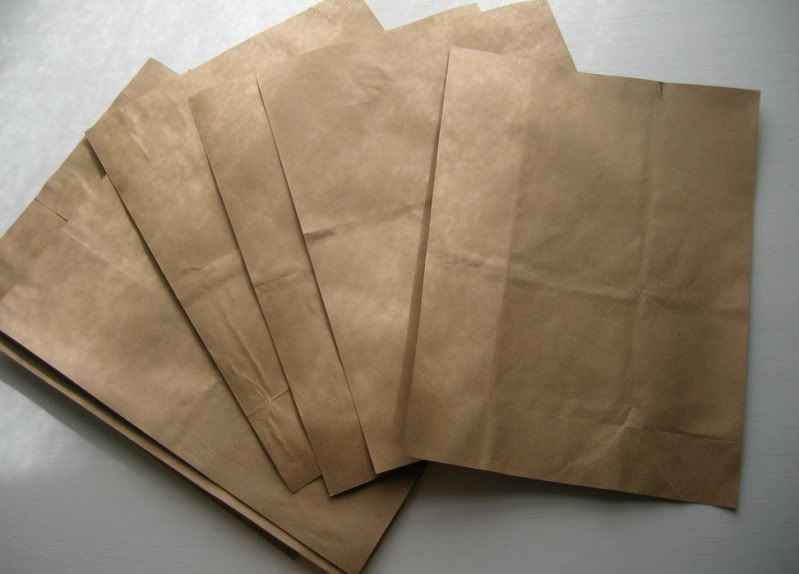
You now have yourself some 100% recycled homemade cardstock! Enjoy!
[caption id="" align="aligncenter" width="367" caption="all bennykelly tags will now be created from HOMEMADE CARDSTOCK!!"]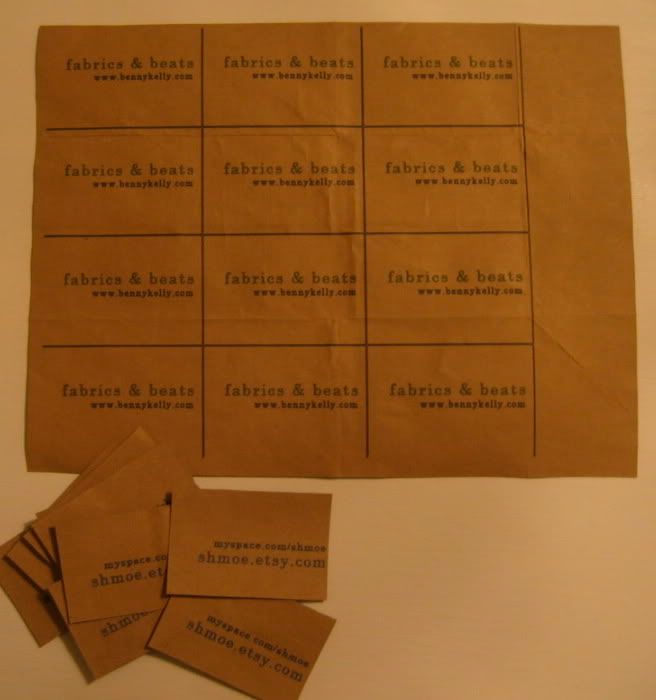 [/caption]


No comments:
Post a Comment