We want nothing more then to spread our postal passion, so we put our crafty skills to work and created this simple tutorial on how to make your own custom postcards. So break out the old address book that been gathering dust all these years and go buy some stamps!
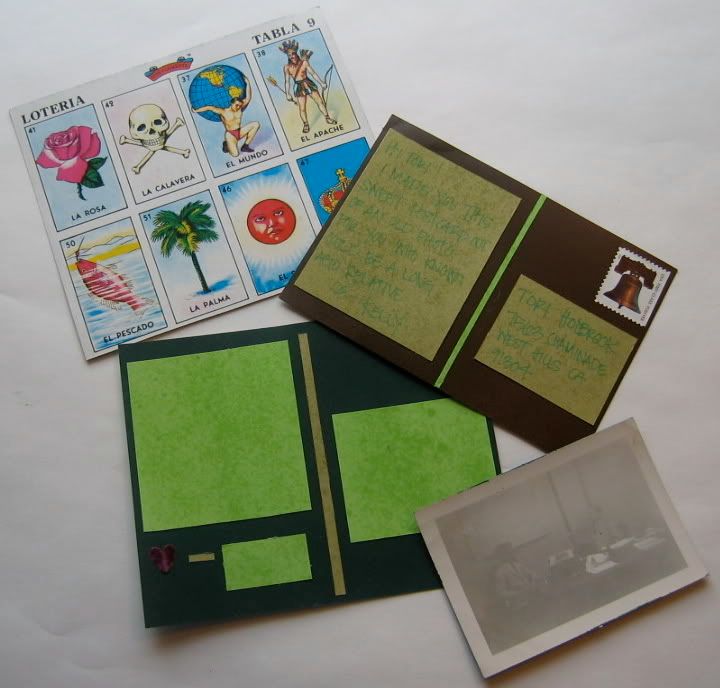
All the how tos after the jump..
Step 1: gather supplies
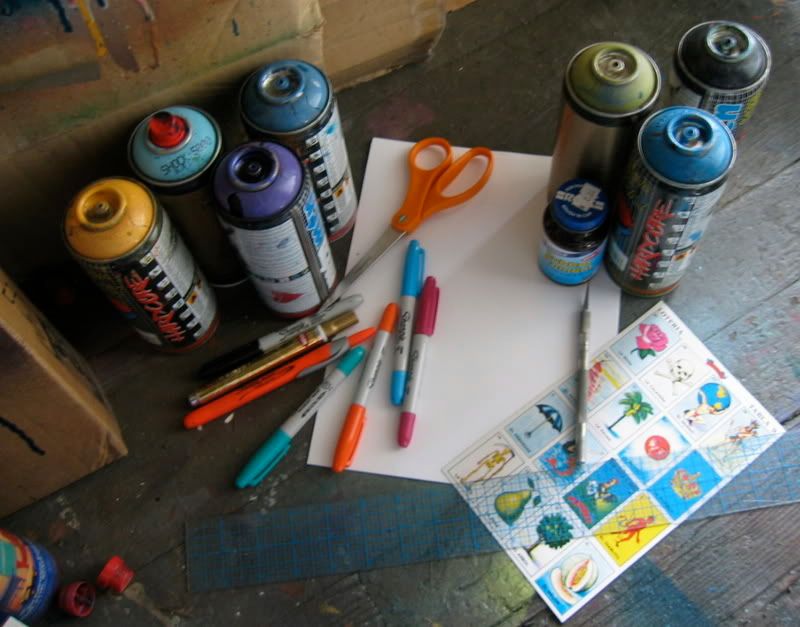
Not much is really need and items can be substituted for a wide range of materials, so use whatever your crafty soul feels like! Basic needs: cardstock (or any thick paper), scissors/xacto, spray paint/any kind of coloring instrument, glue, any sort of image on a flat surface for the face of the post card.
Step 2: cutting shapes
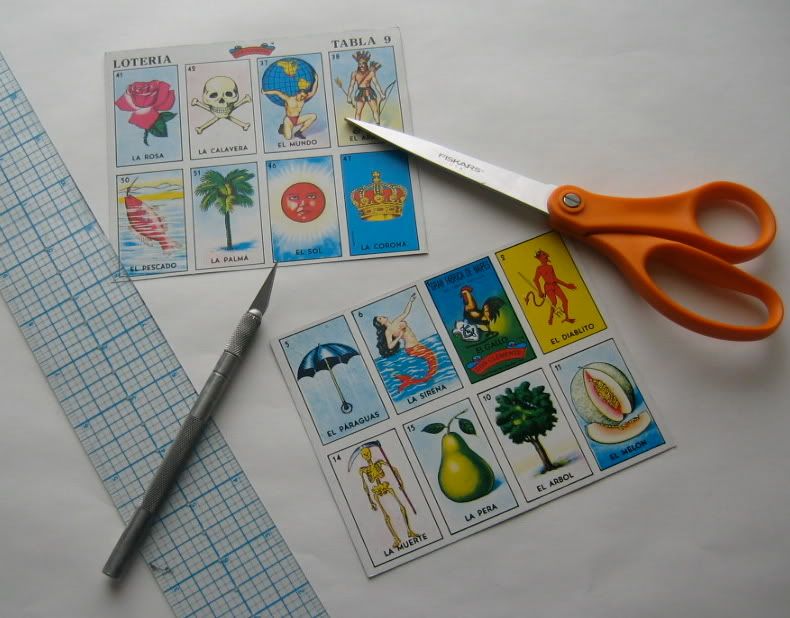
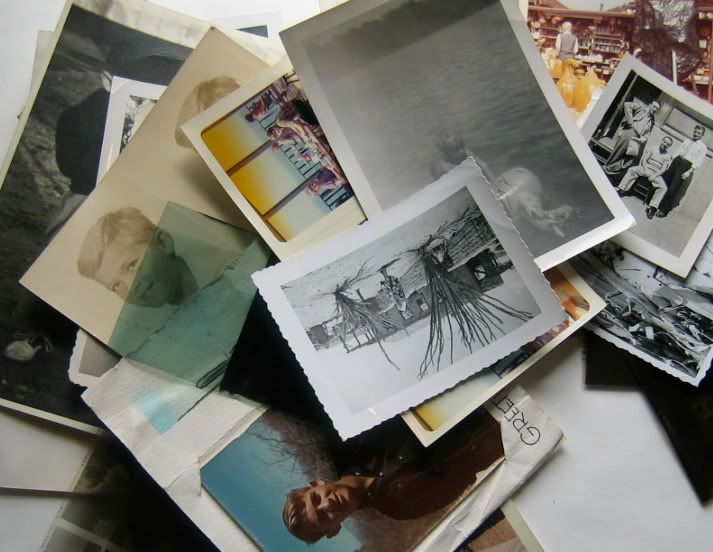
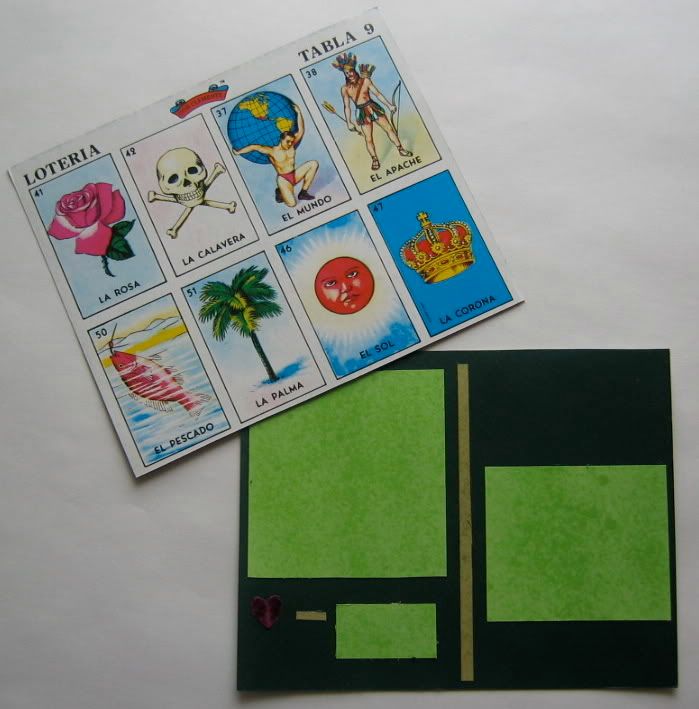
Next we need to crate our postcard pieces. Take the image you have chosen as the face of the postcard and if needed cut it into the size desired. An average postcard is 4" x 6", but you can to go all over the place with size. Here we used a card from a Loteria Set (Mexican Bingo), which we cut in half to create the face of our postcard. We have also used old photos for a more classic feel!
Helpful Hint: Although you can create any size postcard, you unfortunately cannot mail any size. According to the USPS the maximum size of a postcard is 6” x 4.5” and the minimum is 5” x 3.5”. If you create a size you cannot mail we recommend either finding or making a sweet envelope for the card! It will be cherished either way you send it!
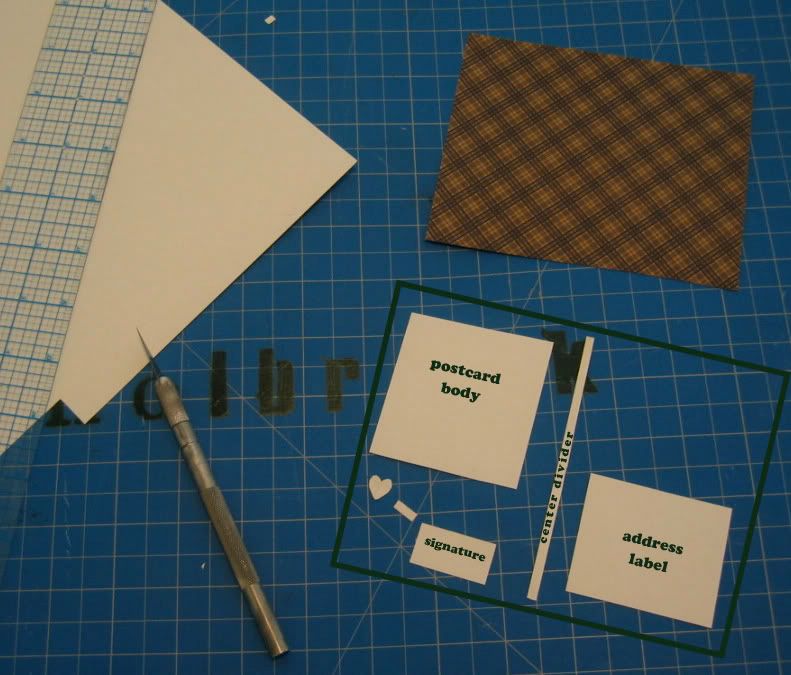
After you have created the face of the card now you need to create the back. To do this you will need to cut out some simple shapes: a few rectangles for the body of your message, the address label and your signature; a thin strip for the center divider; and a heart to be the "from". See picture below...
Step 3: coloring and glueing
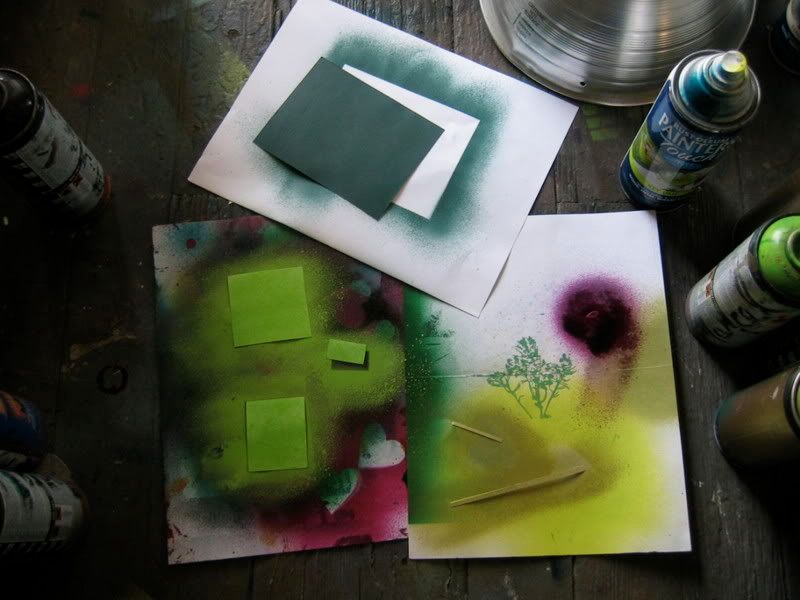
Next take all the little pieces you just cut out and the face of the postcard (flip it over) and color! We used spray paint because we will take any excuse to spray something, but you can really use anything. You can even skip this step for all the little pieces (the address label, message body, etc...) by using colored card stock instead of white.
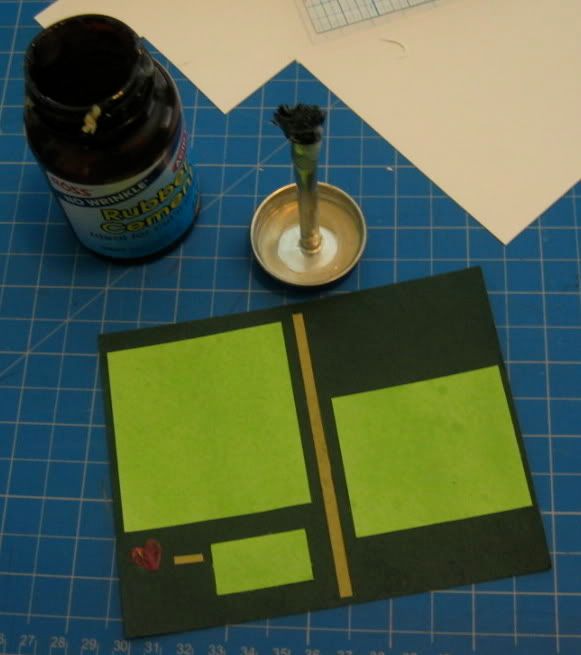
Once all the pieces are dry all you have to do now is assemble. Here we used rubber cement as our adhesive but you can use anything from a glue stick to hot glue gun. Just make sure whatever you use can withstand a lot of wear.
Step 4: compose and mail
Now you have a fantastic postcard that just needs a message, desination and stamp. Your friends will be sooo excited!! We would love to see what fantastic postcards you can create so send us a picture or better yet mail us one of your creations!
 send us post.....benny & kelly 433 57th street oakland, ca 94609


No comments:
Post a Comment