
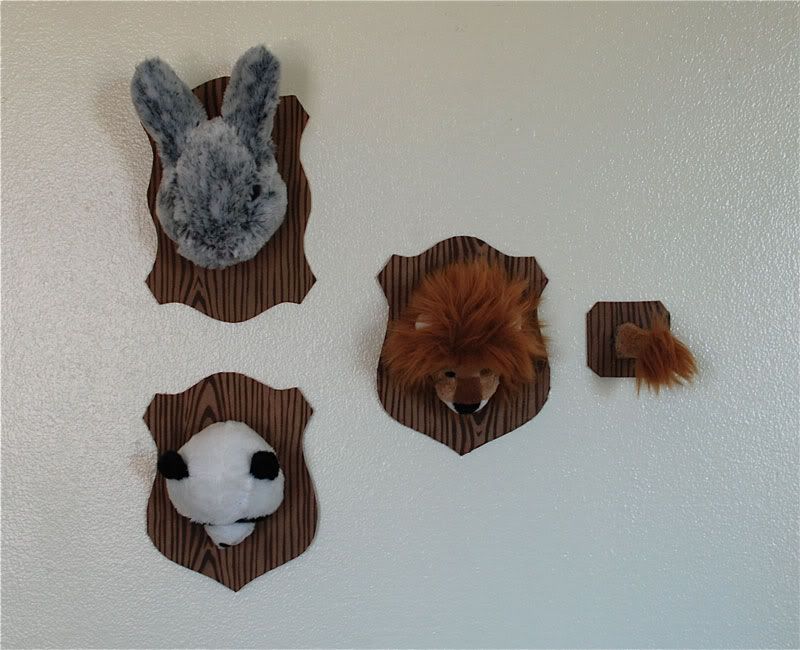
Here is an easy little tutorial to help you make your very own creature wall! So head on down to your favorite toy store and "catch" yourself a cuddly lion or a plush panda or a fuzzy bear, anything really! All the How Tos after the jump...
Step 1: gather supplies
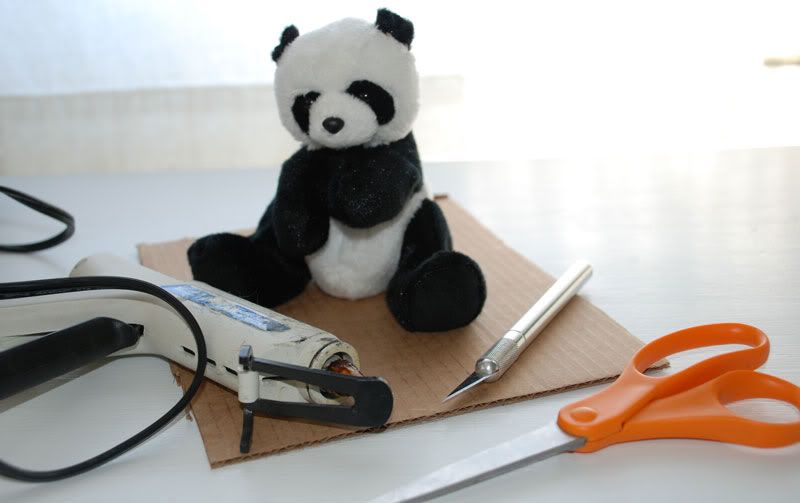
Hunt down these supplies...scissors, stuffed animal, hot glue gun (or any other thick glue that will adhere cardboard to fabric), cardboard, marker, xacto (optional), cardstock (optional) and brown paint/spray paint (optional).
Step 2: create the mount
To start the project off you need to create a mount for the head of your stuffed animal. Take your piece of cardboard and draw out your mount shape. You can be as creative as you like here, but we ended up leaning towards a more classic look here!
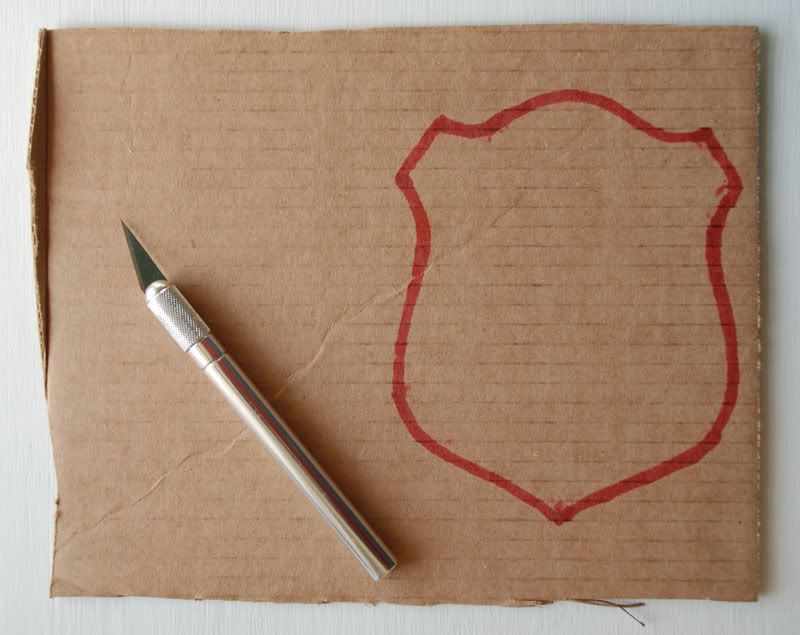
Next simply cut out your mount shape. We used our xacto knife for this so we got super clean lines, but feel free to use scissors instead.
Step 3: decorate (optional)
This next step is totally optional but we think it's the most fun! Now you get to decorate the trophy mount however you desire. We wanted ours to look as realistic as possible so we created a sweet little woodgrain stencil!

helpful hint: if you want to create your own stencil all you need is a marker/pen, some cardstock, an xacto and brown paint/spray paint. With the marker draw out your woodgrain pattern on the cardstock (this is really very simple just slightly curvy lines in a somewhat parallel arrangement that occasionally circle an area). Next using your xacto carefully cut out the pattern drawn. Once cut simply take your paint or spray paint and stencil your trophy mount. Easy!
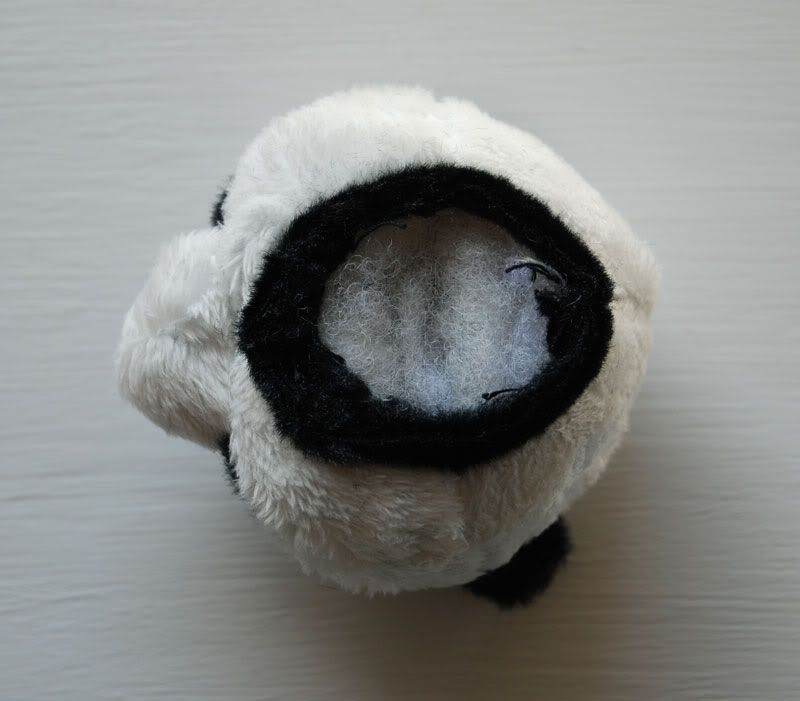
Step 4: behead and glue
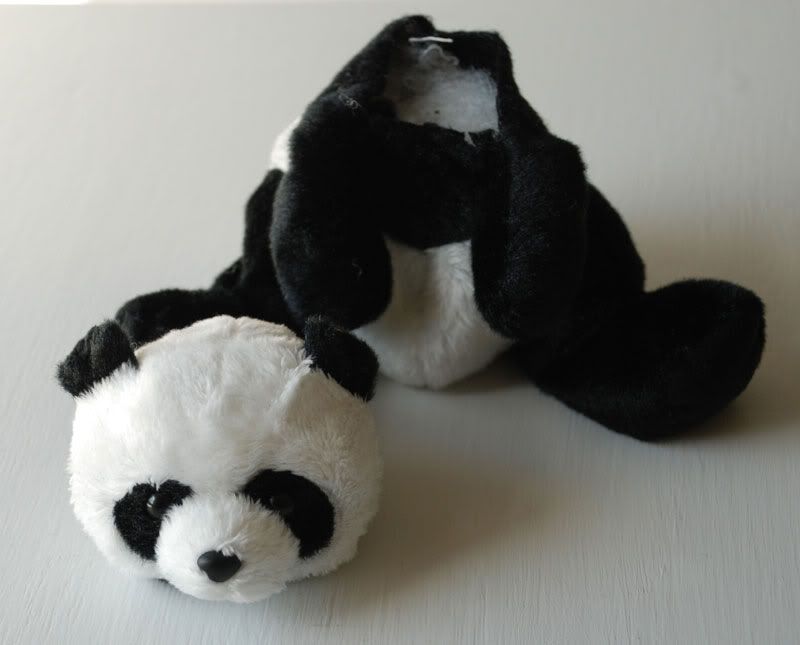
After creating the mount, all you have to do is attach your stuffed animal! For this we first need to behead our dear creature. Using your scissors cut directly below, not above, the seam that attaches the head of your stuffed animal to its body. This seam is what your will be glueing directly to the mount. Once the head is detached we recommend taking a little extra stuffing out of the animal's body and filling the head with as much stuffing as possible. This will help the head keep its shape.
Now that you have the head stuffed to the brim, simply glue the head to your mount using your hot glue gun and let cool. Lastly, locate a wall in home to showcase your new humane trophy creature and hang!
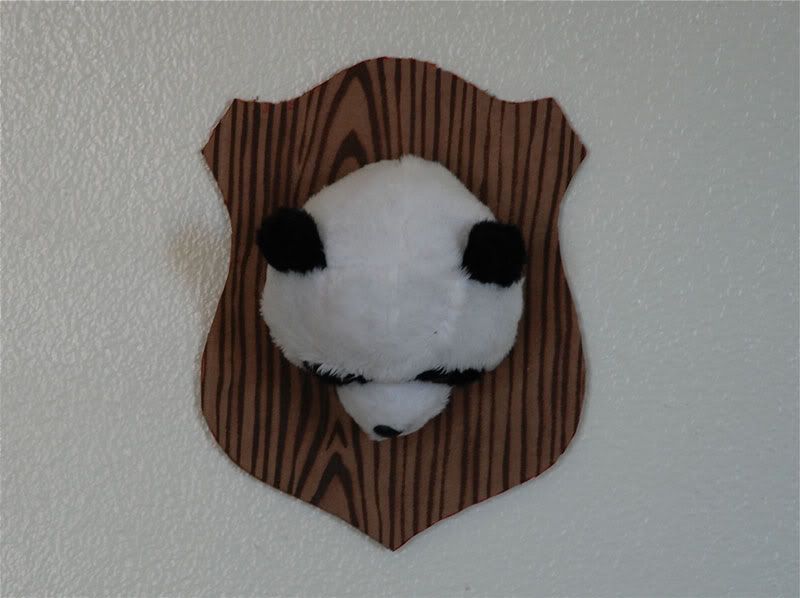
Voila! A rustic cuteness everyone will love!


No comments:
Post a Comment